Excited about your first flight journey?
Have no idea about the domestic air travel procedures?
Don’t worry! Here are some simple guidelines to make your journey smooth, from arrival to departure.
First things first: For domestic air travel, you need to reach the airport at least 2 hours before your flight schedule, so plan accordingly. Here are the key steps from entry until exit.
Entry
Enter through a departure gate. There will be more than one departure gate, so you can choose any of them. Stand in the queue, show the security personnel your ticket (either e-ticket or hard copy) and a government-issued ID card, then proceed.
Bag Scanning and Tagging
Upon entry, you’ll find bag scanners, but make sure to locate the scanner assigned by your airline operator. Sometimes, there may be a shared scanner for all airlines. After scanning, the security personnel will tag your bag.
Check-in and Getting a Boarding Pass
Move to the check-in counter, where you’ll have two options: self-check-in or counter check-in. Self-check-in is useful if you have only a cabin bag. If you have a bag to check in, go to the counter queue for your airline operator. Note that domestic and international travelers have separate counters, so check the LCD screen above the counter before queuing. At your turn, present your ticket and ID, and drop your bag on the belt next to the counter. If you haven’t done web check-in, you can request a seat preference based on availability. Take your boarding pass and proceed to the exit of the check-in area.
Security Check
After receiving your boarding pass, head towards the domestic travelers’ security check. If unsure about directions, feel free to ask the check-in officer; they are usually polite and helpful. Security checks for men and women are separate. Look for the shortest queue possible, as security checks can take time. Place all electronics and metal items inside your bag, remove your belt and shoes, and put them in the tray provided. Once it’s your turn, proceed with your boarding pass. After the check, they’ll stamp your boarding pass.
Based on experience, most security checks are hassle-free, but there can be exceptions. Once, at Mumbai airport, I was asked to remove my socks and sacred thread, which felt overly strict. In contrast, at Bangalore airport, a friendly officer joked about my gold chain, making the process enjoyable. My security checks at Mangalore, Chennai, Pune, Kolkata, Hyderabad, Bhubaneswar, and other airports have generally been smooth.
Find the Boarding Gate
After security, ensure you have all your belongings from the tray. Locate your boarding gate number on your boarding pass and follow the signboards. Walk through the duty-free zone (shops and restaurants) to find the gate. Check the LCD screen before proceeding, as gates may change. If time permits, you might explore the airport or grab a snack, but remember, food at airports is pricey. I once paid ₹350 for a plain dosa at Kolkata airport! Now, I enjoy free meals thanks to lounge access 🤣🤓.
Boarding
When boarding begins, airline staff will announce the sequence. Check your boarding pass for your boarding group. Present your pass to the staff for scanning, then board the bus to the ramp (where the plane is parked). Upon reaching the flight line, your boarding pass will be verified again, and you’ll be allowed to board.
Seating
Once on board, find your seat according to your boarding pass, similar to a train or bus. Place your bag in the overhead cabin. When the plane moves toward the runway, fasten your seatbelt. For first-time travelers, I recommend listening to the pre-flight safety briefing by the flight attendants. After landing, the baggage belt number will be announced.
Baggage Pickup and Exit
Retrieve your bag from the announced baggage belt, proceed to the arrival gate, and exit. If your bag is missing, go to an airline representative or baggage claim office to report it. Make sure to do this before leaving the airport, and obtain an acknowledgment form with a case number. This is why it’s important to have a tag on your bag with your name, address, phone, and email.
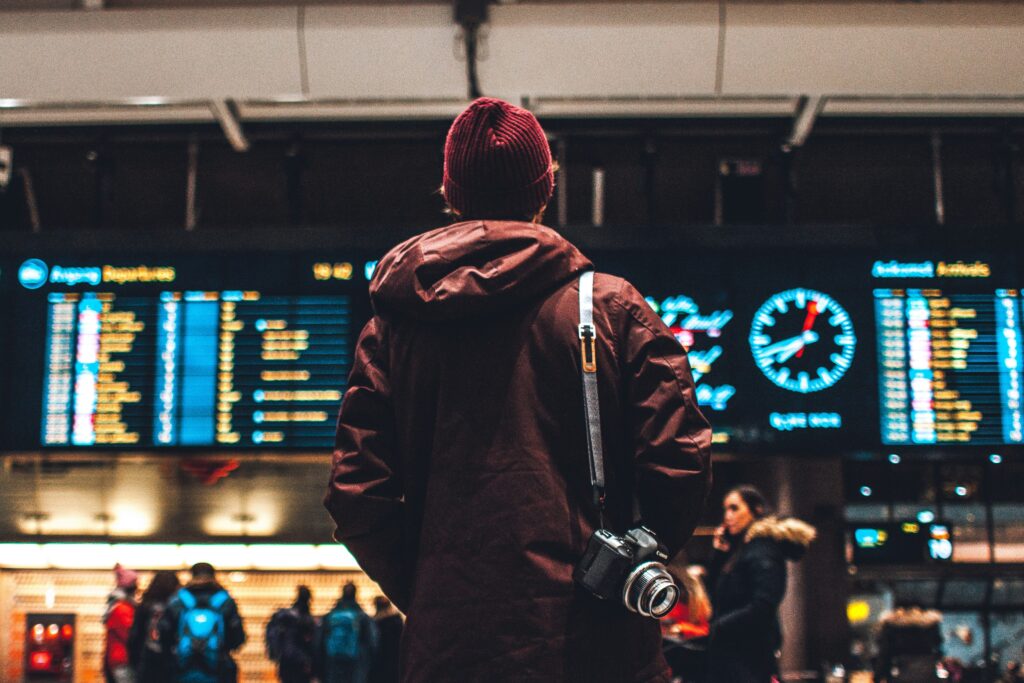
PC: Photo by Erik Odiin on Unsplash